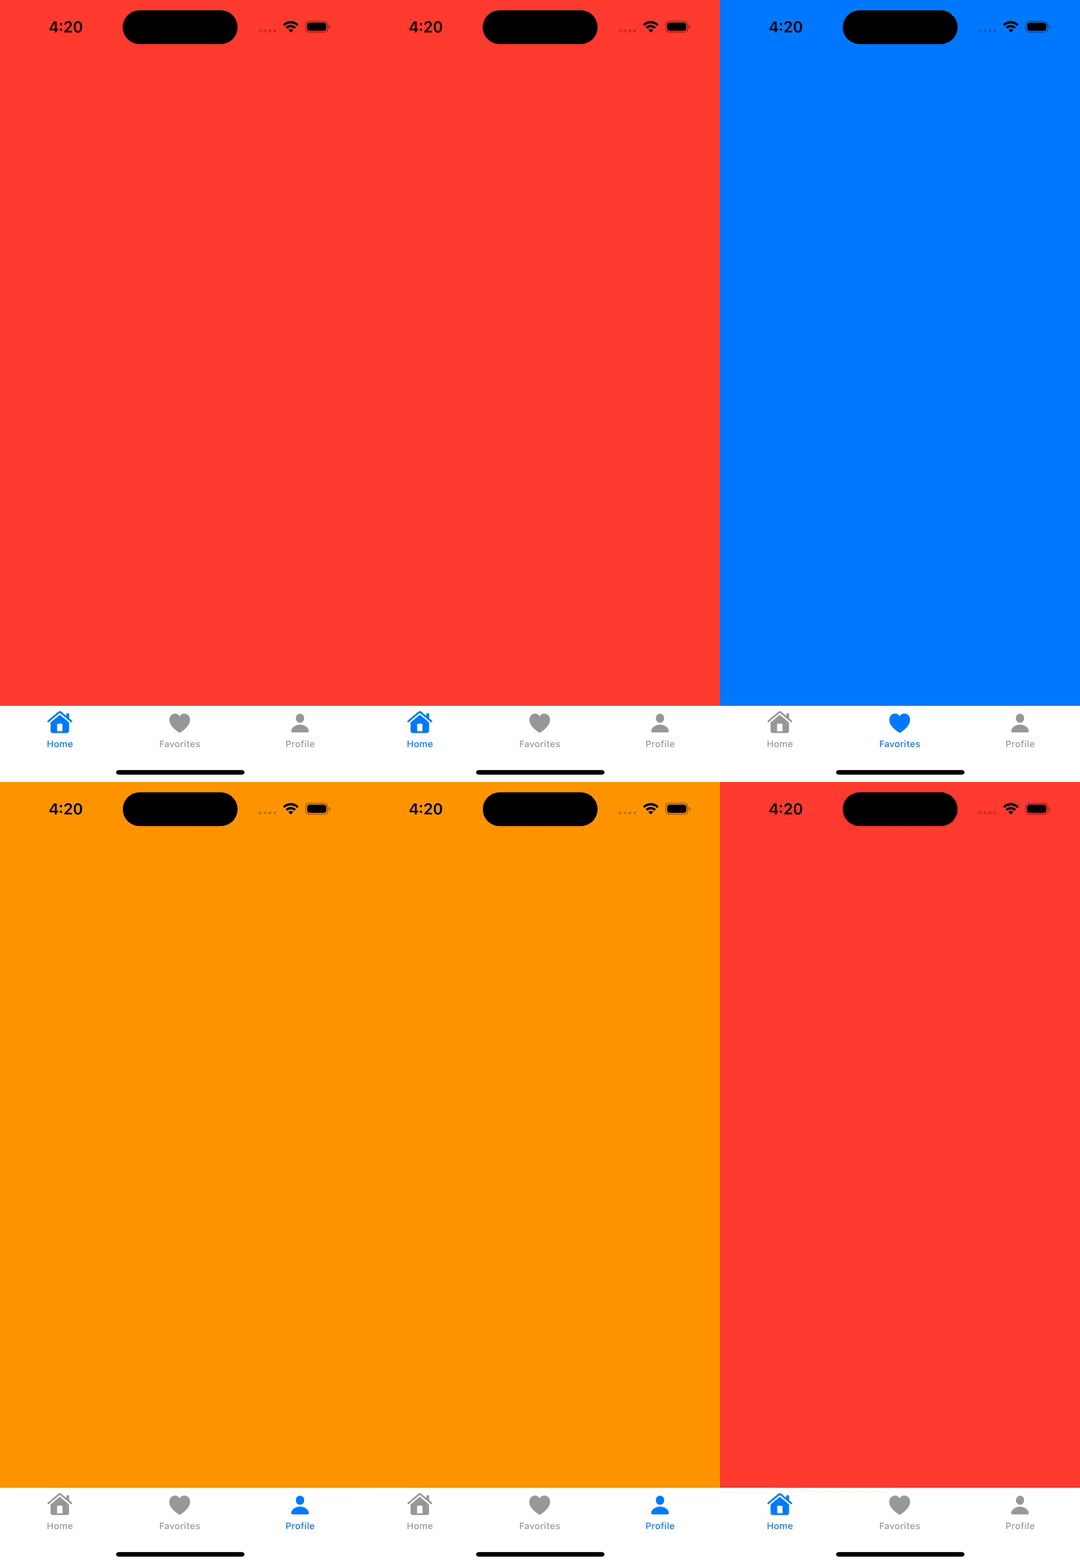
1. 用到的技术点
1) Generics 泛型
2) ViewBuilder 视图构造器
3) PreferenceKey 偏好设置
4) MatchedGeometryEffect 几何效果
2. 创建枚举选项卡项散列,TabBarItem.swift
import Foundation
import SwiftUI

//struct TabBarItem: Hashable{
//    let iconName: String
//    let title: String
//    let color: Color
//}

///枚举选项卡项散列
enum TabBarItem: Hashable{
    case home, favorites, profile, messages

    var iconName: String{
        switch self {
        case .home: return "house"
        case .favorites: return "heart"
        case .profile:   return "person"
        case .messages:  return "message"
        }服务器托管网
    }

    var title: String{
        switch self {
        case .home: return "Home"
        case .favorites: return "Favorites"
        case .profile:   return "Profile"
        case .messages:  return "Messages"
        }
    }

    var color: Color{
        switch self {
        case .home: return Color.red
        case .favorites: return Color.blue
        case .profile:   return Color.green
        case .messages:  return Color.orange
        }
    }
}
3. 创建选项卡偏好设置 TabBarItemsPreferenceKey.swift
import Foundation
import SwiftUI

/// 选项卡项偏好设置
struct TabBarItemsPreferenceKey: PreferenceKey{
    static var defaultValue: [TabBarItem] = []

    static func reduce(value: inout [TabBarItem], nextValue: () -> [TabBarItem]) {
        value += nextValue()
    }
}

/// 选项卡项视图修饰符
struct TabBarItemViewModifer: ViewModifier{
    let tab: TabBarItem
    @Binding var selection: TabBarItem

    func body(content: Content) -> some View {
        content
            .opacity(selection == tab ? 1.0 : 0.0)
            .preference(key: TabBarItemsPreferenceKey.self, value: [tab])
    }
}

extension View{
    /// 选项卡项视图修饰符
    func tabBarItem(tab: TabBarItem, selection: Binding) -> some View{
        modifier(TabBarItemViewModifer(tab: tab, selection: selection))
    }
}
4. 创建自定义选项卡视图 CustomTabBarView.swift
import SwiftUI

/// 自定义选项卡视图
struct CustomTabBarView: View {
    let tabs: [TabBarItem]
    @Binding var selection: TabBarItem
    @Namespace private var namespace
    @State var localSelection: TabBarItem

    var body: some View {
        //tabBarVersion1
        tabBarVersion2
            .onChange(of: selection) { value in
                withAnimation(.easeInOut) {
                    localSelection = value
                }
            }
    }
}

extension CustomTabBarView{
    /// 自定义 tabitem 布局
    private func tabView1(tab: TabBarItem) -> some View{
        VStack {
            Image(systemName: tab.iconName)
                .font(.subheadline)
            Text(tab.title)
                .font(.system(size: 12, weight: .semibold, design: .rounded))
        }
        .foregroundColor(localSelection == tab ? tab.color : Color.gray)
        .padding(.vertical, 8)
        .frame(maxWidth: .infinity)
        .background(localSelection == tab ? tab.color.opacity(0.2) : Color.clear)
        .cornerRadius(10)
    }

    /// 选项卡版本1
    private var tabBarVersion1: some View{
        HStack {
            ForEach(tabs, id: .self) { tab in
                tabView1(tab: tab)
                    .onTapGesture {
                        switchToTab(tab: tab)
                    }
            }
        }
        .padding(6)
        .background(Color.white.ignoresSafeArea(edges: .bottom))
    }

    /// 切换选项卡
    private func switchToTab(tab: TabBarItem){
        selection = tab
    }
}

extension CustomTabBarView{
    /// 自定义 tabitem 布局 2
    private func tabView2(tab: TabBarItem) -> some View{
        VStack {
            Image(systemName: tab.iconName)
                .font(.subheadline)
            Text(tab.title)
                .font(.system(size: 12, weight: .semibold, design: .rounded))
        }
        .foregroundColor(localSelection == tab ? tab.color : Color.gray)
        .padding(.vertical, 8)
        .frame(maxWidth: .infinity)
        .background(
            ZStack {
                if localSelection == tab{
                    RoundedRectangle(cornerRadius: 10)
                        .fill(tab.color.opacity(0.2))
                        .matchedGeometryEffect(id: "background_rectangle", in: namespace)
                }
            }
        )
    }

    /// 选项卡版本 2
    private var tabBarVersion2: some View{
        HStack {
            ForEach(tabs, id: .self) { tab in
                tabView2(tab: tab)
                    .onTapGesture {
                        switchToTab(tab: tab)
                    }
            }
        }
        .padding(6)
        .background(Color.white.ignoresSafeArea(edges: .bottom))
        .cornerRadius(10)
        .shadow(color: Color.black.opacity(0.3), radius: 10, x: 0, y: 5)
        .padding(.horizontal)
    }
}

struct CustomTabBarView_Previews: PreviewProvider {
    static let tabs: [TabBarItem] = [.home, .favorites, .profile]

    static var previews: some View {
        VStack {
            Spacer()
            CustomTabBarView(tabs: tabs, selection: .constant(tabs.first!), localSelection: tabs.first!)
        }
    }
}
5. 创建自定义选项卡容器视图 CustomTabBarContainerView.swift
import SwiftUI

/// 自定义选项卡容器视图
struct CustomTabBarContainerView: View {
    @Binding var selection: TabBarItem
    let content: Content
    @State private var tabs: [TabBarItem] = []

    init(selection: Binding, @ViewBuilder content: () -> Content){
        self._selection = selection
        self.content = content()
    }

    var body: some View {
        ZStack(alignment: .bottom) {
            content
                .ignoresSafeAr服务器托管网ea()
            CustomTabBarView(tabs: tabs, selection: $selection, localSelection: selection)
        }
        .onPreferenceChange(TabBarItemsPreferenceKey.self) { value in
            tabs = value
        }
    }
}

struct CustomTabBarContainerView_Previews: PreviewProvider {
    static let tabs: [TabBarItem] = [ .home, .favorites, .profile]

    static var previews: some View {
        CustomTabBarContainerView(selection: .constant(tabs.first!)) {
            Color.red
        }
    }
}
6. 创建应用选项卡视图 AppTabBarView.swift
import SwiftUI

// Generics      泛型
// ViewBuilder   视图构造器
// PreferenceKey 偏好设置
// MatchedGeometryEffect 几何效果

/// 应用选项卡视图
struct AppTabBarView: View {
    @State private var selection: String = "Home"
    @State private var tabSelection: TabBarItem = .home

    var body: some View {
        /// 默认系统的 TabView
        // defaultTabView
        /// 自定义 TabView
        customTabView
    }
}

extension AppTabBarView{
    /// 默认系统的 TabView
    private var defaultTabView: some View{
        TabView(selection: $selection) {
            Color.red
                .ignoresSafeArea(edges: .top)
                .tabItem {
                    Image(systemName: "house")
                    Text("Home")
                }
            Color.blue
                .ignoresSafeArea(edges: .top)
                .tabItem {
                    Image(systemName: "heart")
                    Text("Favorites")
                }
            Color.orange
                .ignoresSafeArea(edges: .top)
                .tabItem {
                    Image(systemName: "person")
                    Text("Profile")
                }
        }
    }

    /// 自定义 TabView
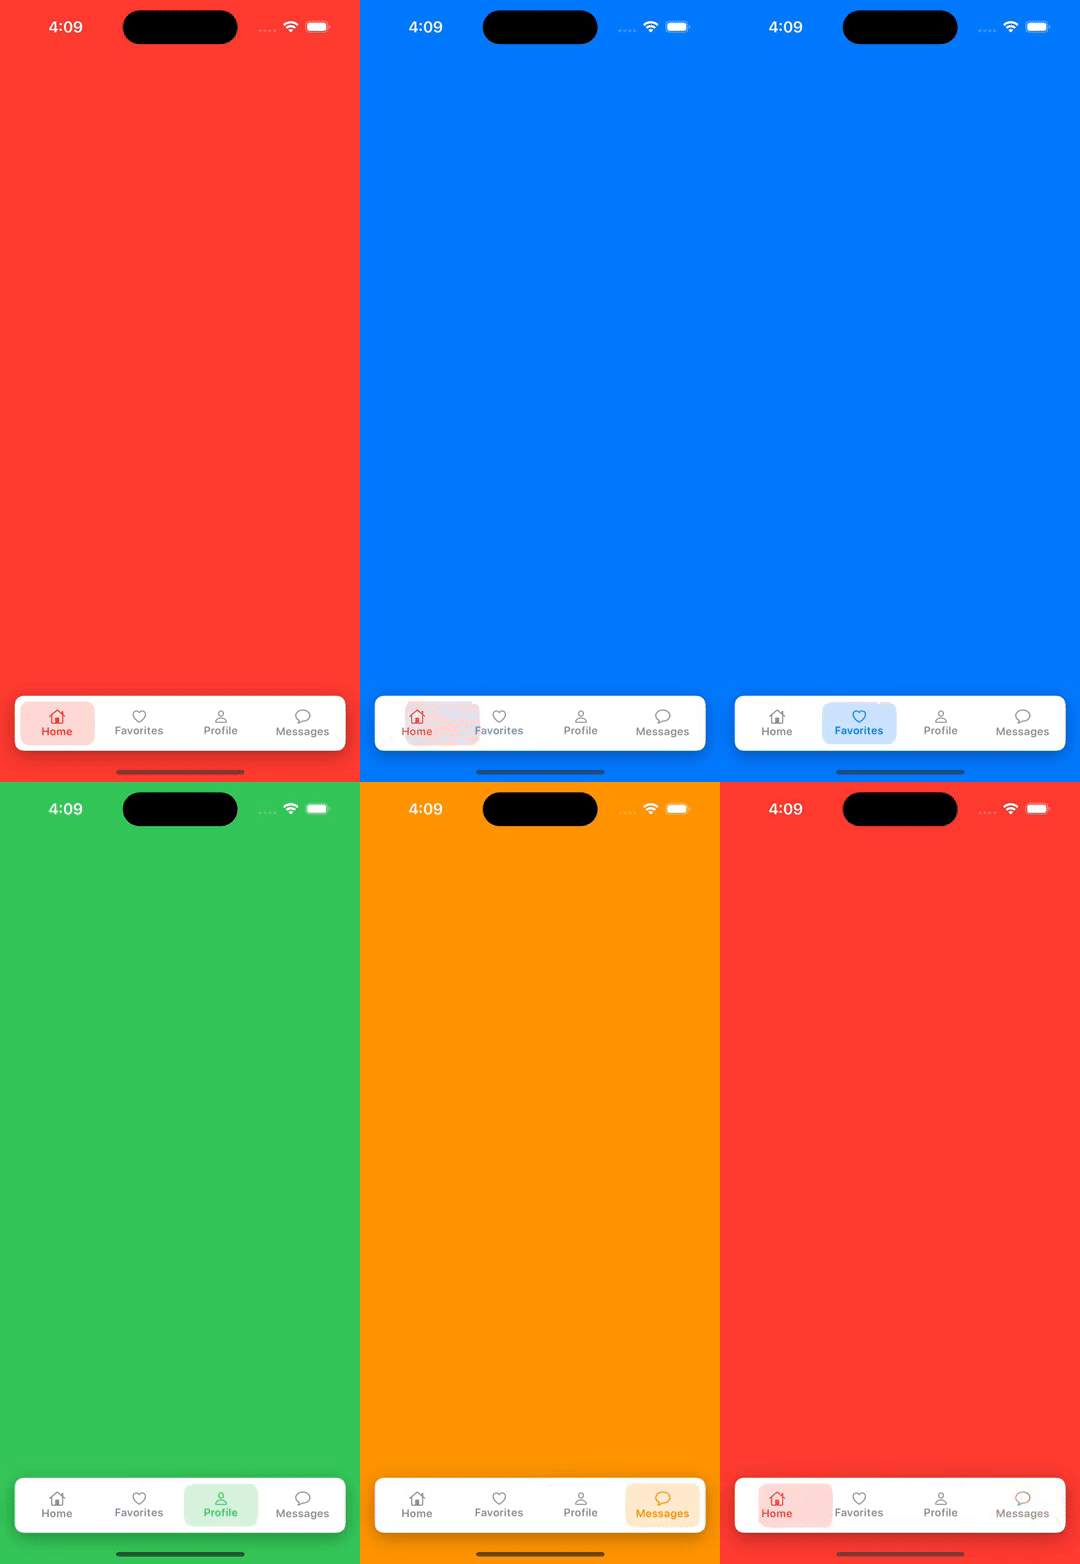
    private var customTabView: some View{
        CustomTabBarContainerView(selection: $tabSelection) {
            Color.red
                .tabBarItem(tab: .home, selection: $tabSelection)

            Color.blue
                .tabBarItem(tab: .favorites, selection: $tabSelection)

            Color.green
                .tabBarItem(tab: .profile, selection: $tabSelection)

            Color.orange
                .tabBarItem(tab: .messages, selection: $tabSelection)
        }
    }
}

struct AppTabBarView_Previews: PreviewProvider {
    static var previews: some View {
        AppTabBarView()
    }
}
7. 效果图:


服务器托管,北京服务器托管,服务器租用 http://www.fwqtg.net
相关推荐: Python 利用pymysql和openpyxl操作MySQL数据库并插入Excel数据
1. 需求分析 本文将介绍如何使用Python连接MySQL数据库,并从Excel文件中读取数据,将其插入到MySQL数据库中。 2.服务器托管网 环境准备 在开始本文之前,请确保您已经安装好了以下环境: Python 3.x PyMySQL库 openpyx…

