配置文件的webhook支持discord,所以尝试使用钉钉和企业微信。
WebHook {
	Discord {
		Url = ""
		AvatarUrl = ""
		User = "announcer"
	}
}
服务端中判断如果配置了webhook会在自身添加agent之前就转发给discord了。
func (t *Teamserver) AgentAdd(Agent *agent.Agent) []*agent.Agent {
	if Agent != nil {
		if t.WebHooks != nil {
			t.WebHooks.NewAgent(Agent.ToMap())
		}
	}
...
}
可以看到在上线时,server的控制台上会有上线的信息。
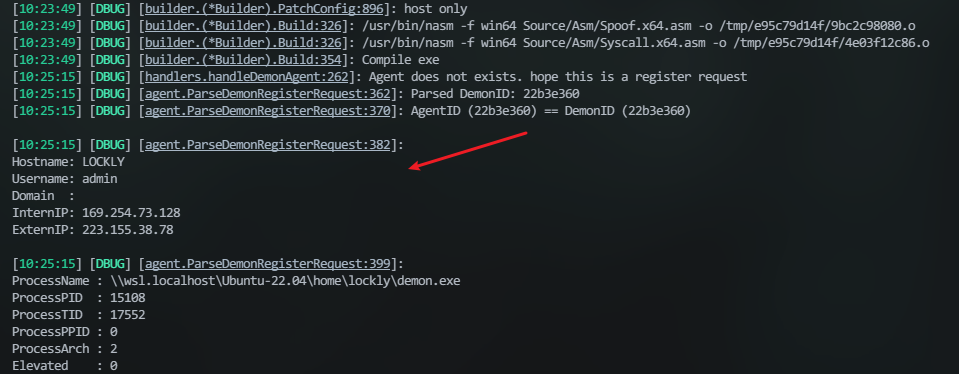
借鉴一个老哥的做法:起个子程序来开服务端,同时监听并捕获这个信息:
    process = subprocess.Popen(['./havoc', 'server', '--profile', './profiles/havoc.yaotl', '-v', '--debug'],
                               stdout=subprocess.PIPE,
                               stderr=subprocess.STDOUT,
                               text=True)

    capture = False

// 获取到前四行即可
        if "[DBUG] [agent.ParseDemonRegisterRequest:382]" in line:
            capture = True
            captured_text = ""
            line_count = 0
            continue

        if capture:
            if line_count
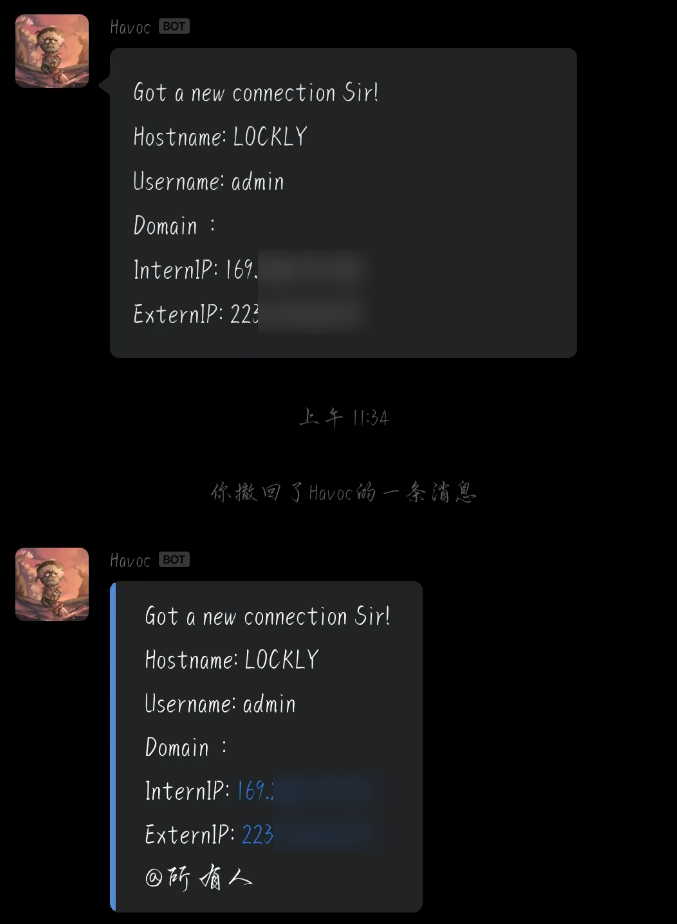
然后根据官方文档 发送text类型的消息,markdown可以但是在微信中不能正常显示。
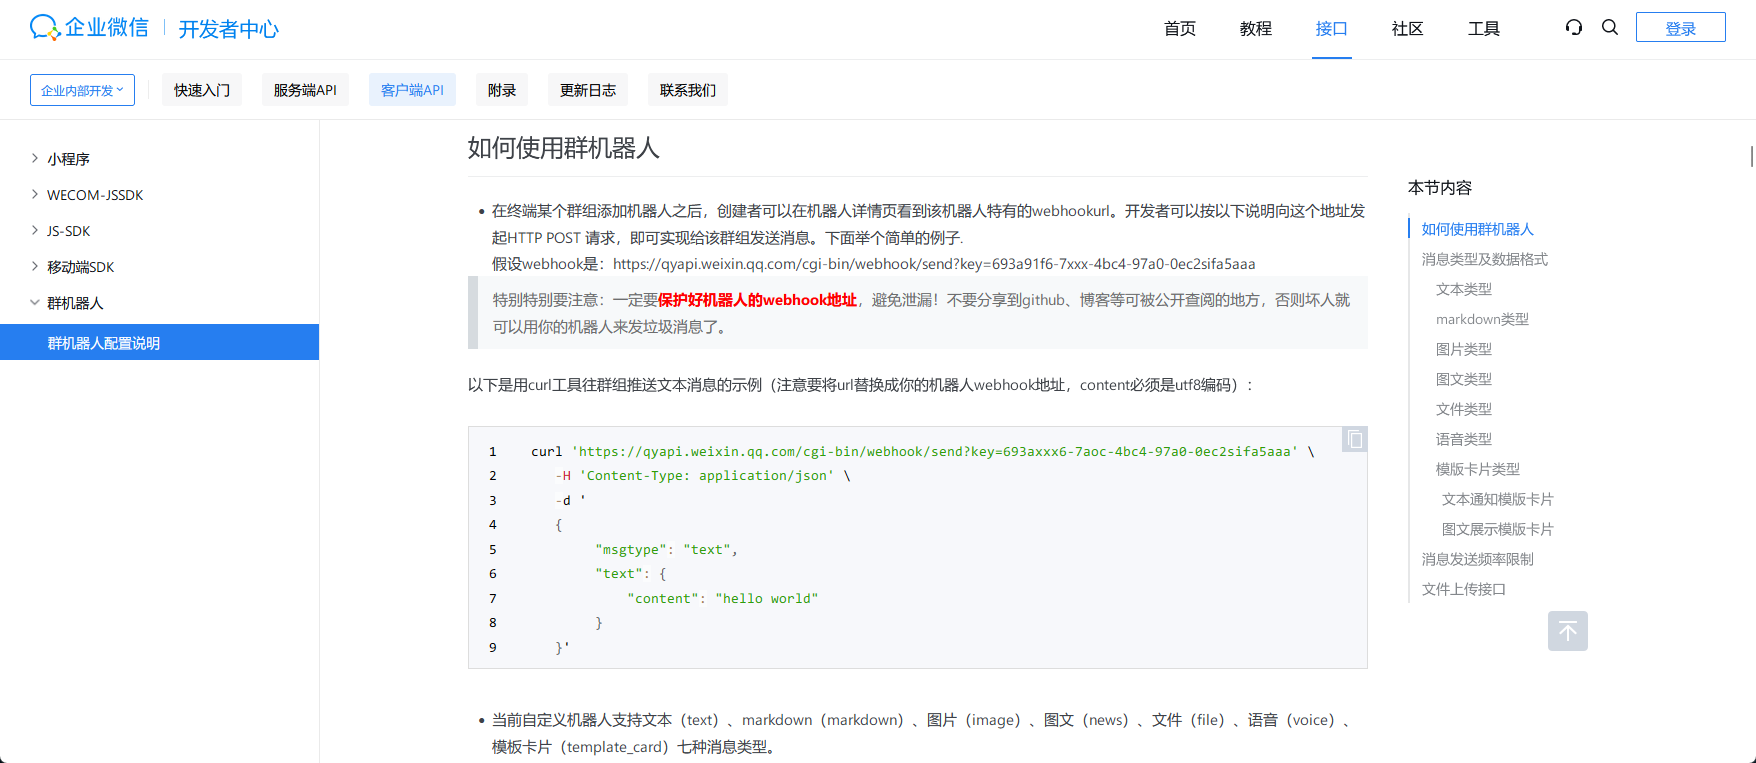
上面是markdown下面是text文本,代码也上传了:gayhub
但这样并不是很好,而翻官方文档,里面有提供对客户端api的详细说明,主要涉及到havoc和havocui这两个。
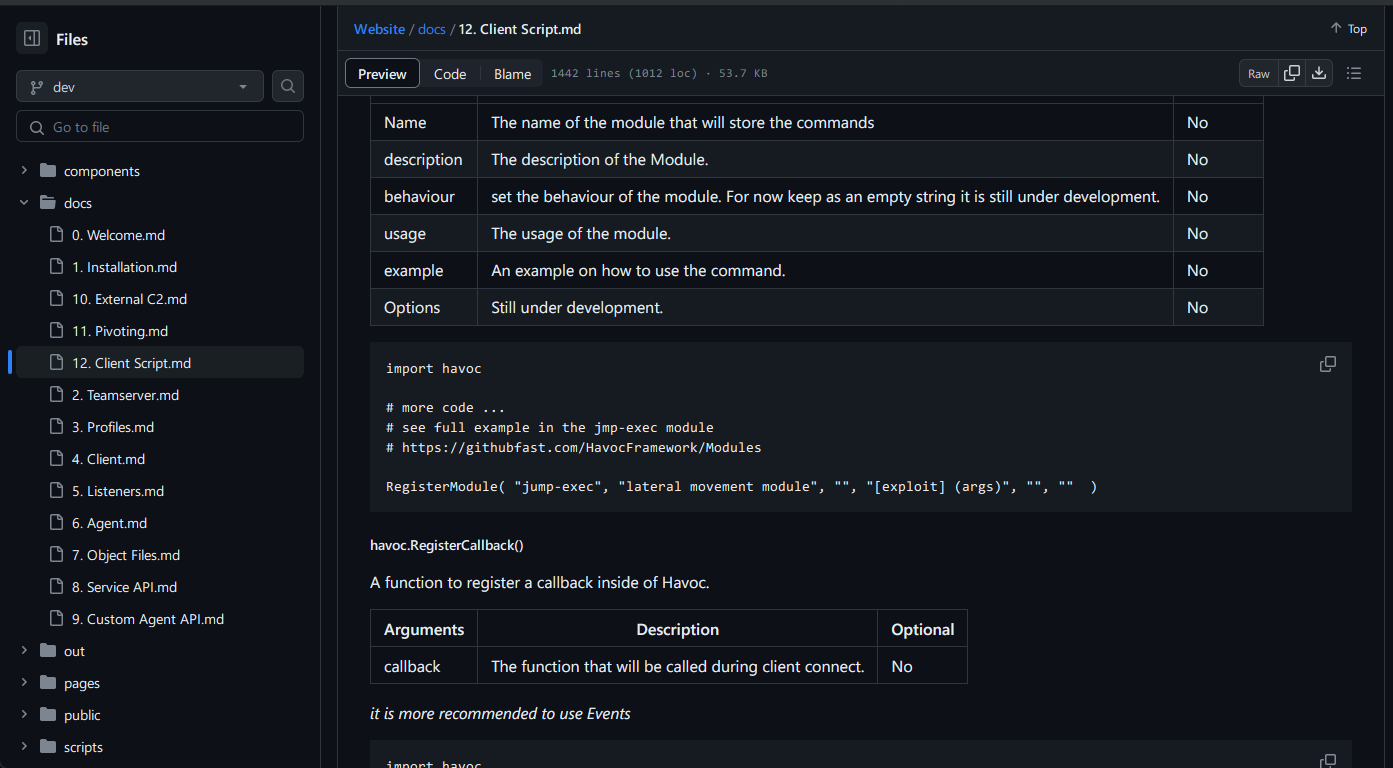
对于ui可以直接在客户端的console中尝试他的效果:
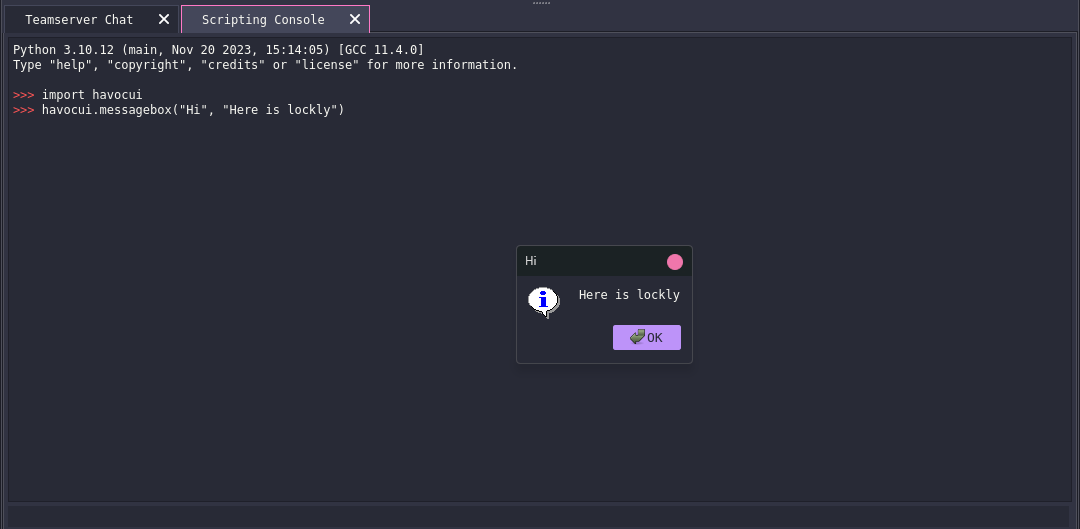
像获取demons的数量可以用havoc.GetDemons()
文档中介绍了一些比较常用的api,在clientsrcHavocPythonApi有更多的调用方向,比如下面的:
PyMemberDef PyDemonClass_members[] = {

        { "Listener",       T_STRING, offsetof( PyDemonClass, Listener ),    0, "Listener name" },
        { "DemonID",        T_STRING, offsetof( PyDemonClass, DemonID ),     0, "Listener name" },
        { "ExternalIP",     T_STRING, offsetof( PyDemonClass, ExternalIP ),  0, "External IP" },
        { "InternalIP",     T_STRING, offsetof( PyDemonClass, InternalIP ),  0, "Internal IP" },
        { "User",           T_STRING, offsetof( PyDemonClass, User ),        0, "Username" },
        { "Computer",       T_STRING, offsetof( PyDemonClass, Computer ),    0, "Computer" },
        { "Domain",         T_STRING, offsetof( PyDemonClass, Domain ),      0, "Domain" },
        { "OS",             T_STRING, offsetof( PyDemonClass, OS ),          0, "Windows Version" },
        { "OSBuild",        T_STRING, offsetof( PyDemonClass, OSBuild ),     0, "Windows OS Build" },
        { "OSArch",         T_STRING, offsetof( PyDemonClass, OSArch ),      0, "Windows Architecture" },
        { "ProcessName",    T_STRING, offsetof( PyDemonClass, ProcessName ), 0, "Process Name" },
        { "ProcessID",      T_STRING, offsetof( PyDemonClass, ProcessID ),   0, "Process ID" },
        { "ProcessArch",    T_STRING, offsetof( PyDemonClass, ProcessArch服务器托管网 ), 0, "Process Architecture" },

        { "CONSOLE_INFO",   T_INT, offsetof( PyDemonClass, CONSOLE_INFO ),   0, "Console message type info" },
        { "CONSOLE_ERROR",  T_INT, offsetof( PyDemonClass, CONSOLE_ERROR ),  0, "Console message type error" },
        { "CONSOLE_TASK",   T_INT, offsetof( PyDemonClass, CONSOLE_TASK ),   0, "Console message type task" },

        { NULL },
};

PyMethodDef PyDemonClass_methods[] = {

        { "ConsoleWrite",           ( PyCFunction ) DemonClass_ConsoleWrite,           METH_VARARGS, "Prints messages to the demon sessions console" },
        { "ProcessCreate",          ( PyCFunction ) DemonClass_ProcessCreate,          METH_VARARGS, "Creates a Process" },
        { "InlineExecute",          ( PyCFunction ) DemonClass_InlineExecute,          METH_VARARGS, "Executes a coff file in the context of the demon sessions" },
        { "InlineExecuteGetOutput", ( PyCFunction ) DemonClass_InlineExecuteGetOutput, METH_VARARGS, "Executes a coff file in the context of the demon sessions and get the output via a callback" },
        { "DllSpawn",               ( PyCFunction ) DemonClass_DllSpawn,               METH_VARARGS, "Spawn and injects a reflective dll and get output from it" },
        { "DllInject",              ( PyCFunction ) DemonClass_DllInject,              METH_VARARGS, "Injects a reflective dll into a specified process" },
        { "DotnetInlineExecute",    ( PyCFunction ) DemonClass_DotnetInlineExecute,    METH_VARARGS, "Executes a dotnet assembly in the context of the demon sessions" },
        { "Command",                ( PyCFunction ) DemonClass_Command,                METH_VARARGS, "Run a command" },
        { "CommandGetOutput",       ( PyCFunction ) DemonClass_CommandGetOutput,                METH_VARARGS, "Run a command and retreive the output" },
        { "ShellcodeSpawn",         ( PyCFunction ) DemonClass_ShellcodeSpawn,         METH_VARARGS, "Executes shellcode spawning a new process" },

        { NULL },
};
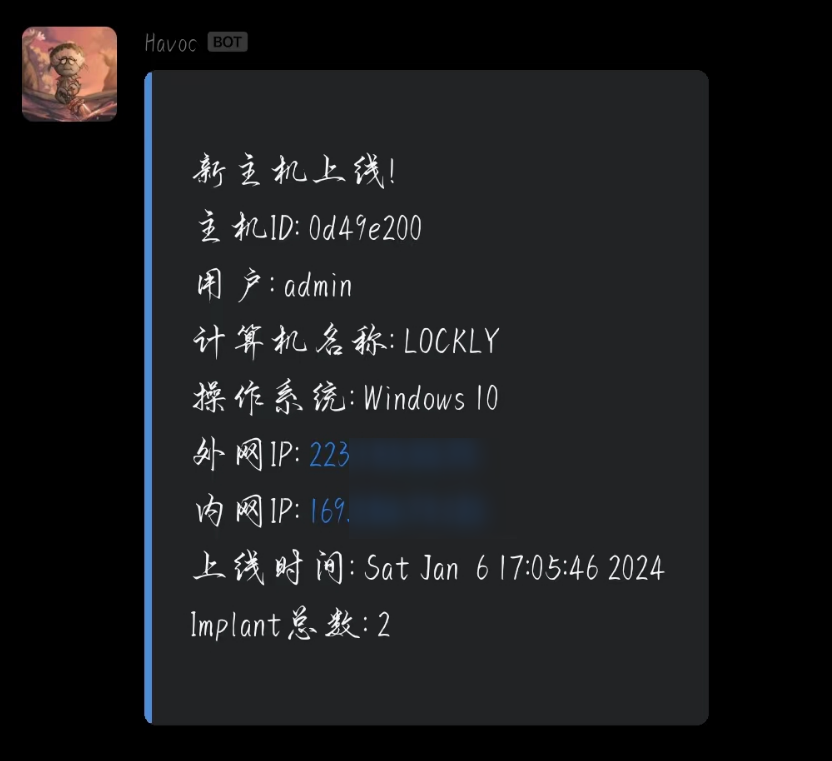
代码的逻辑也很简单,就是通过havoc.Demon(demon_i服务器托管网d)获取到这个对象,抽出这里面的对象发送即可。代码可以去仓库看看。最终完成的效果如下:
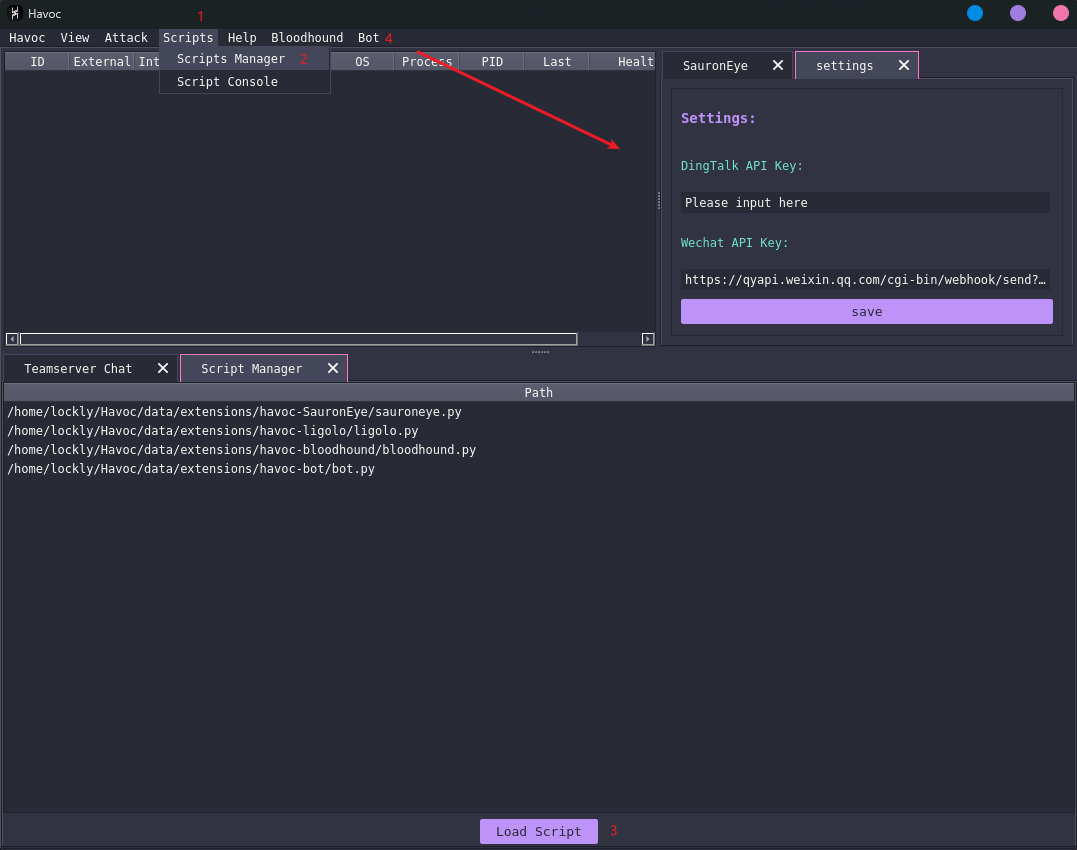
最后也是正常能提示了,传送门:gayhub(一起交流)
服务器托管,北京服务器托管,服务器租用 http://www.fwqtg.net
机房租用,北京机房租用,IDC机房托管, http://www.fwqtg.net
数组 前言 1. 数组的概念 2. 一维数组的创建和初始化 2.1 数组创建 2.2 数组的初始化 2.3 数组的类型 3. 一维数组的使用 3.1 数组下标 3.2 数组元素的打印 3.3 数组的输入 4. 一维数组在内存中的存储 5. sizeof计算数组…

